Unreal Engine Blueprint – How to Automatically Remove Video when it finishes playing
INITIAL SET UP:
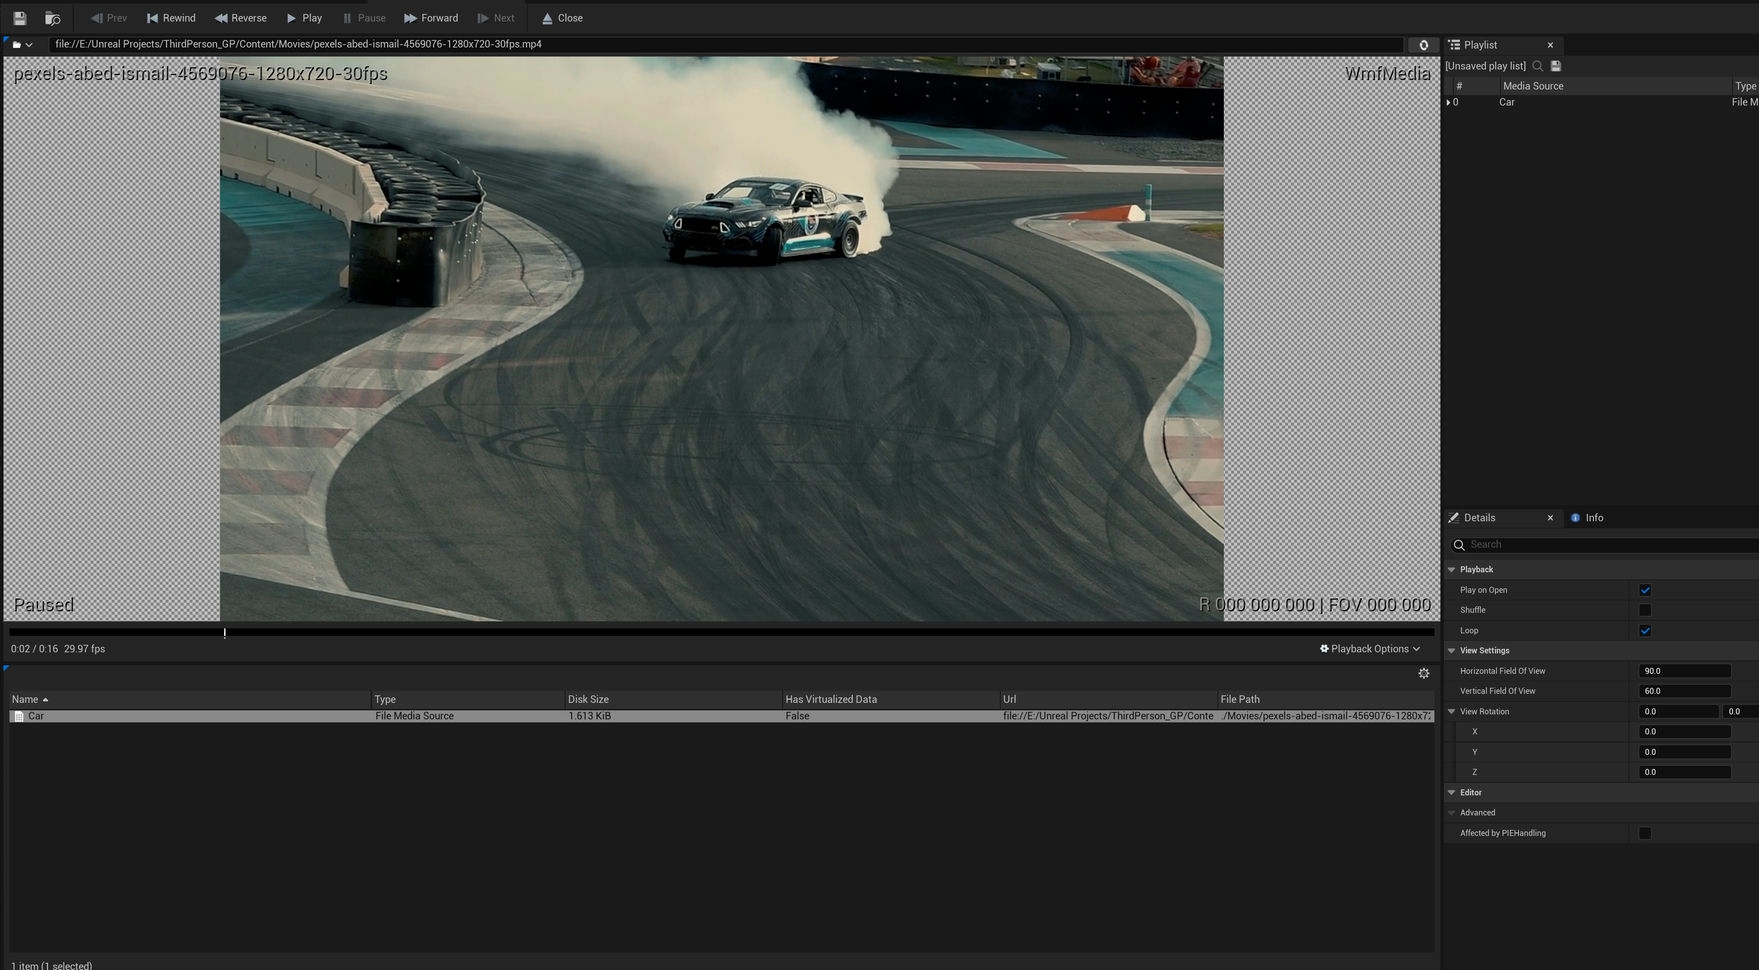
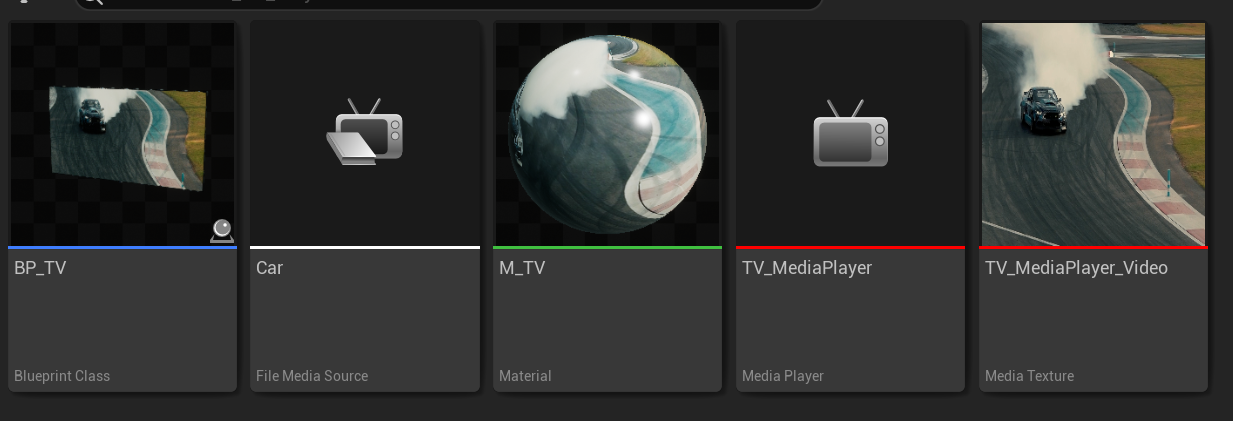
- You will need a video, media player and widget. If not done so already, please see the blueprint here for setting up a media player and widget
- This overview provides details on how to remove a video from the viewport automatically once its finished playing.
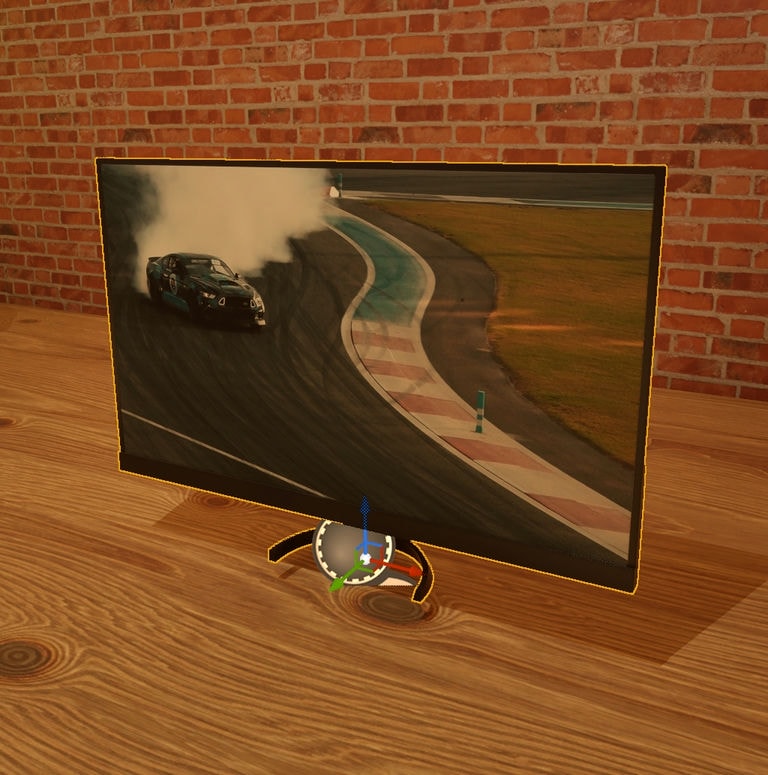
- This blueprint plays a video in a widget in the viewport. To play the video in a TV mesh, please also see the blueprint guide linked to above.
- This overview assumes you have a basic knowledge of blueprint, but if not consider starting with the intro / first blueprint tutorial on this website.
EVENT GRAPH CODE:
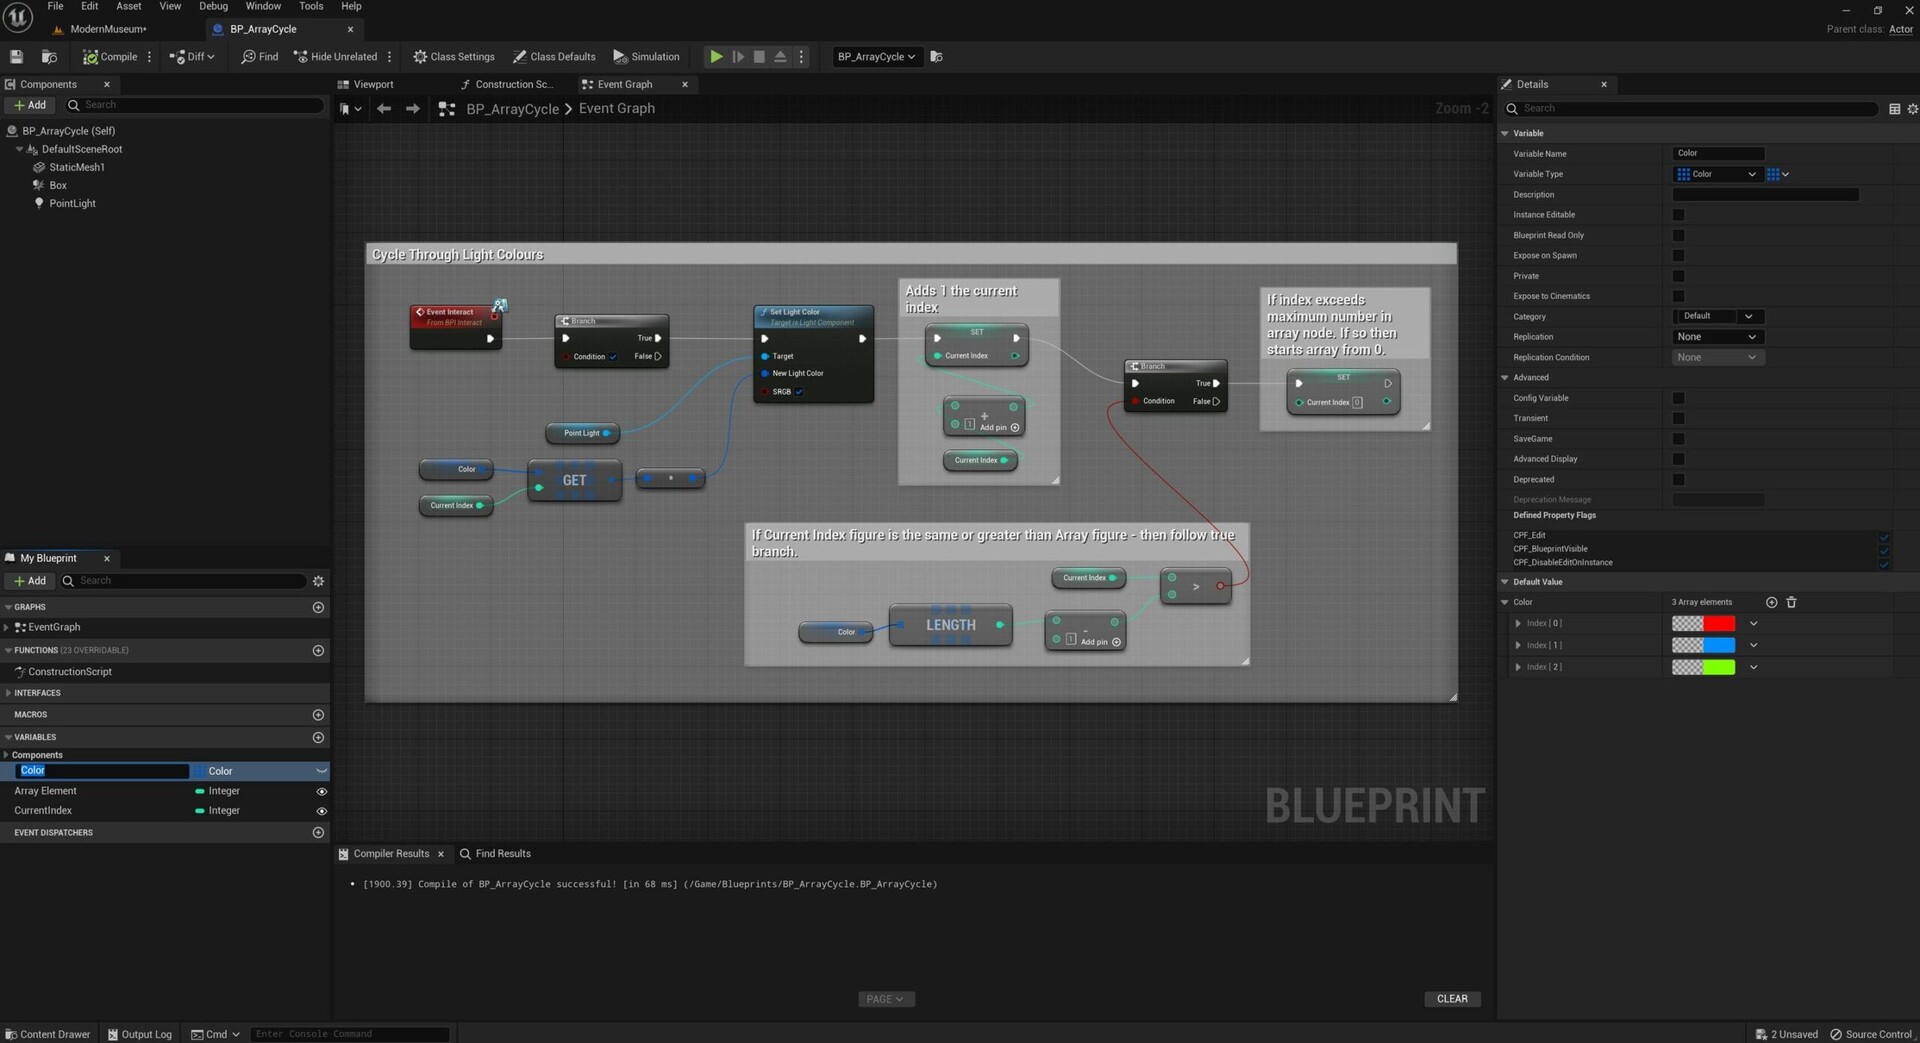
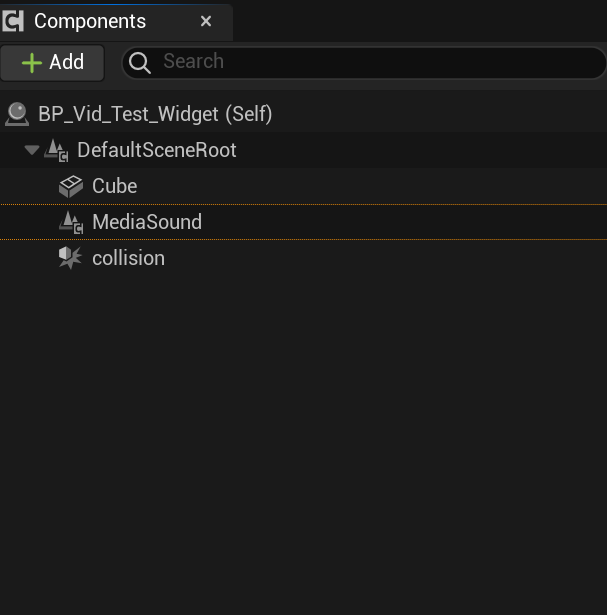
- Create a Blueprint and select Actor class.
- Add a collision box and resize as required (you can also map to a key and for this please see details at bottom of post).
MAPPING A KEY TO START THE VIDEO PLAY:
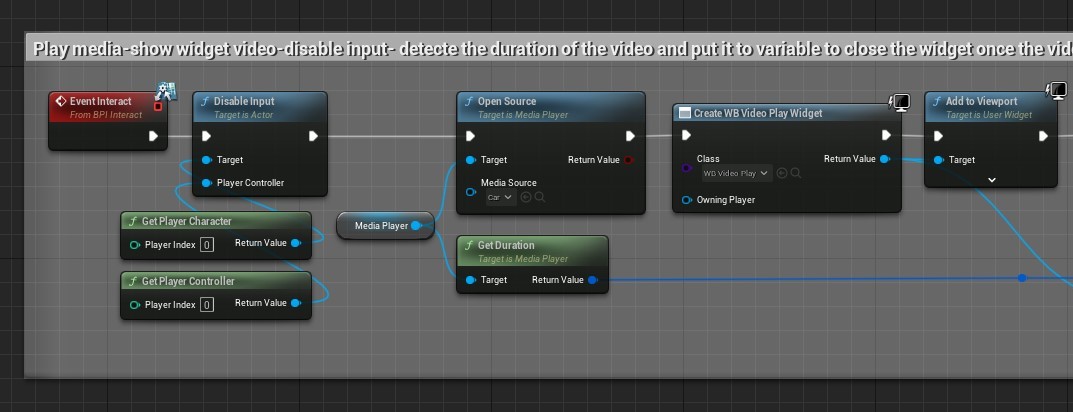
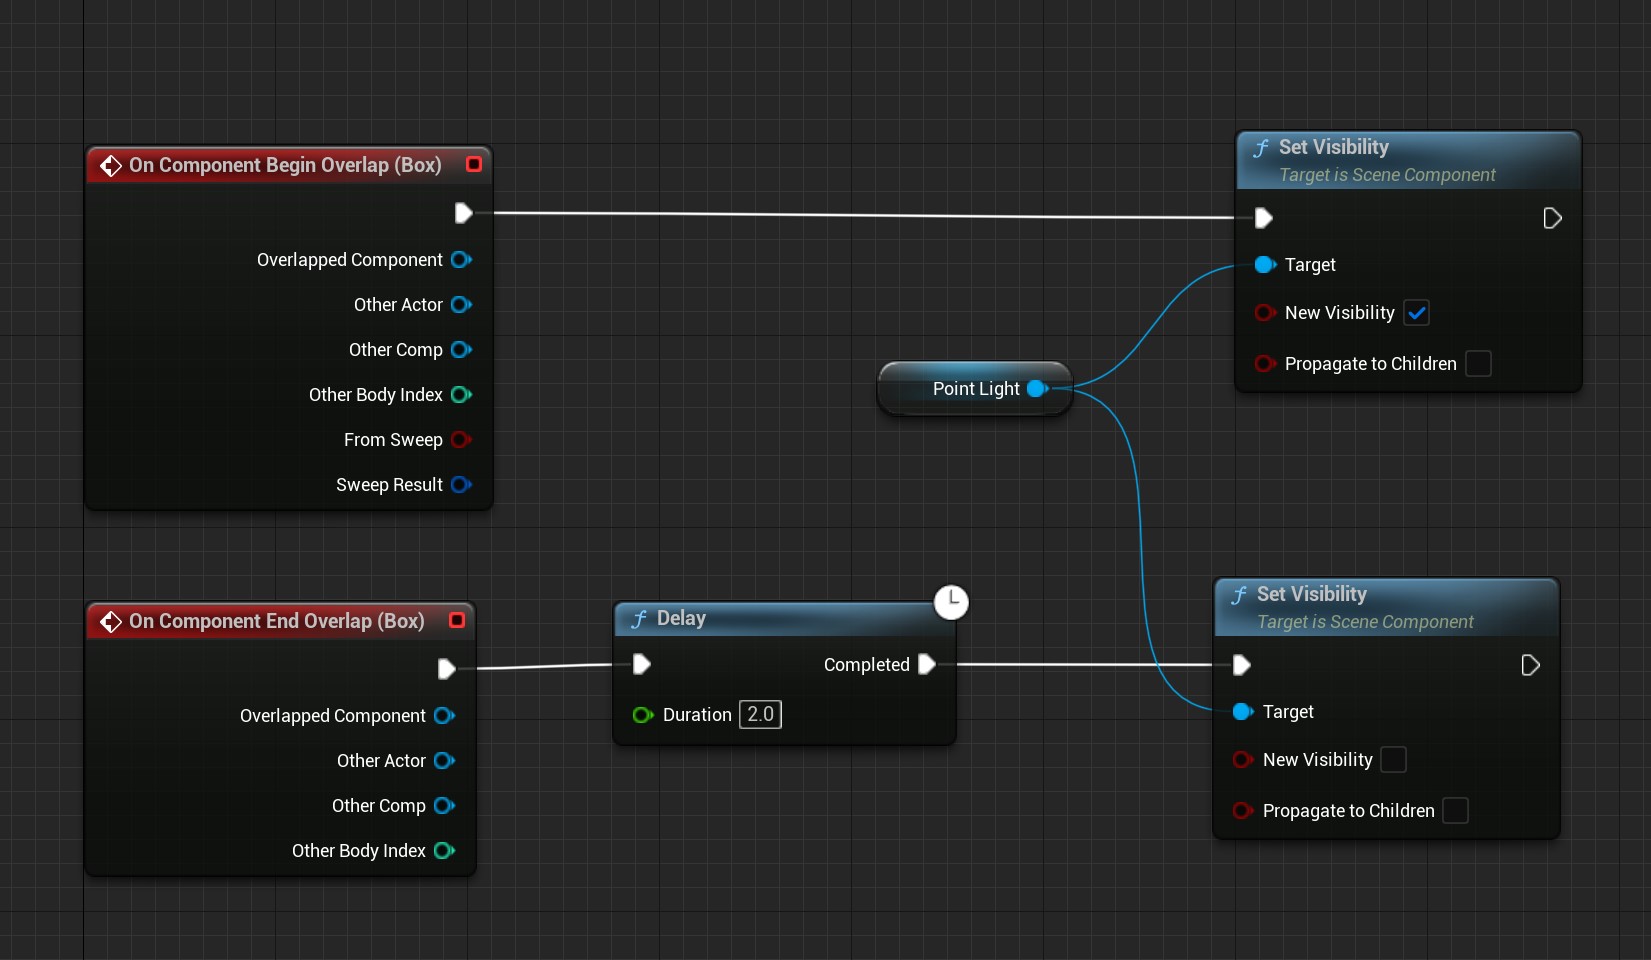
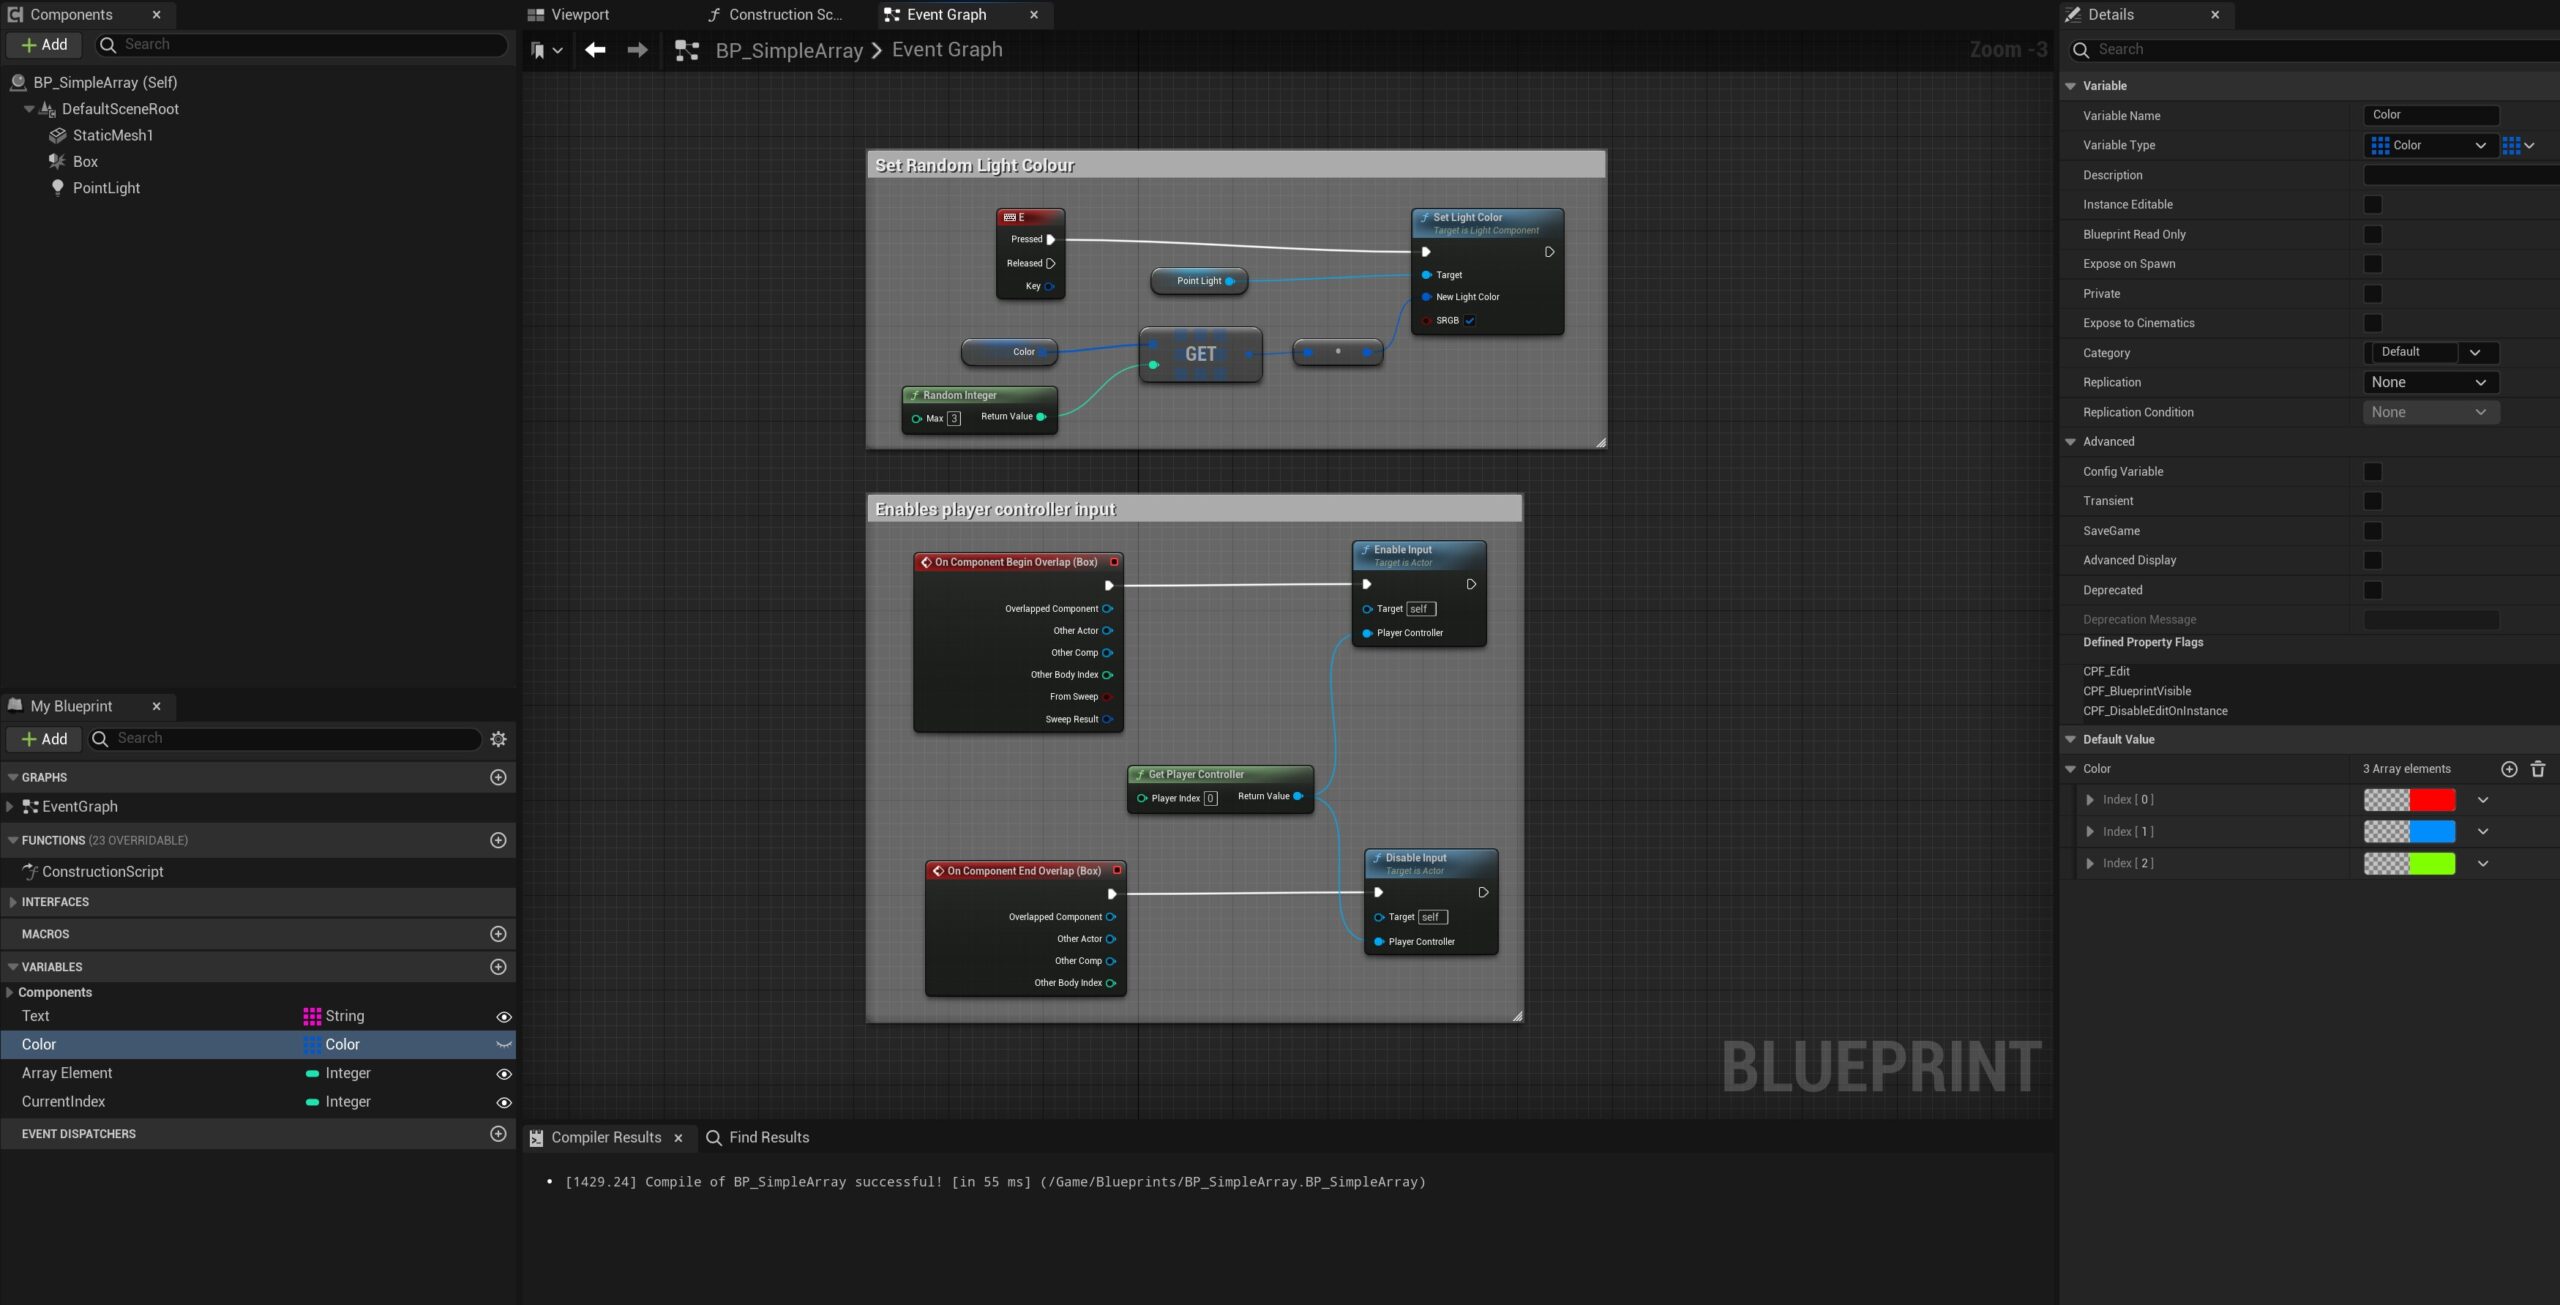
- You can use an on component begin overlap node with the collision box to trigger video play, but I’ve mapped a key to start the video.
- Add the key at the start – E or P for example.
- Drag off from the key and add a Disable Input node.
- Connect this to Get player character and a Get Player Controller – so the player can’t move when the video plays.
- Then add an ‘Open Source’ and select the required video.
- Drag off from the Open Source exec pin and add a Create Widget > Select the widget you created for this in the drop-down list.
- Next add a ‘Add to Viewport.’
MEDIA PLAYER:
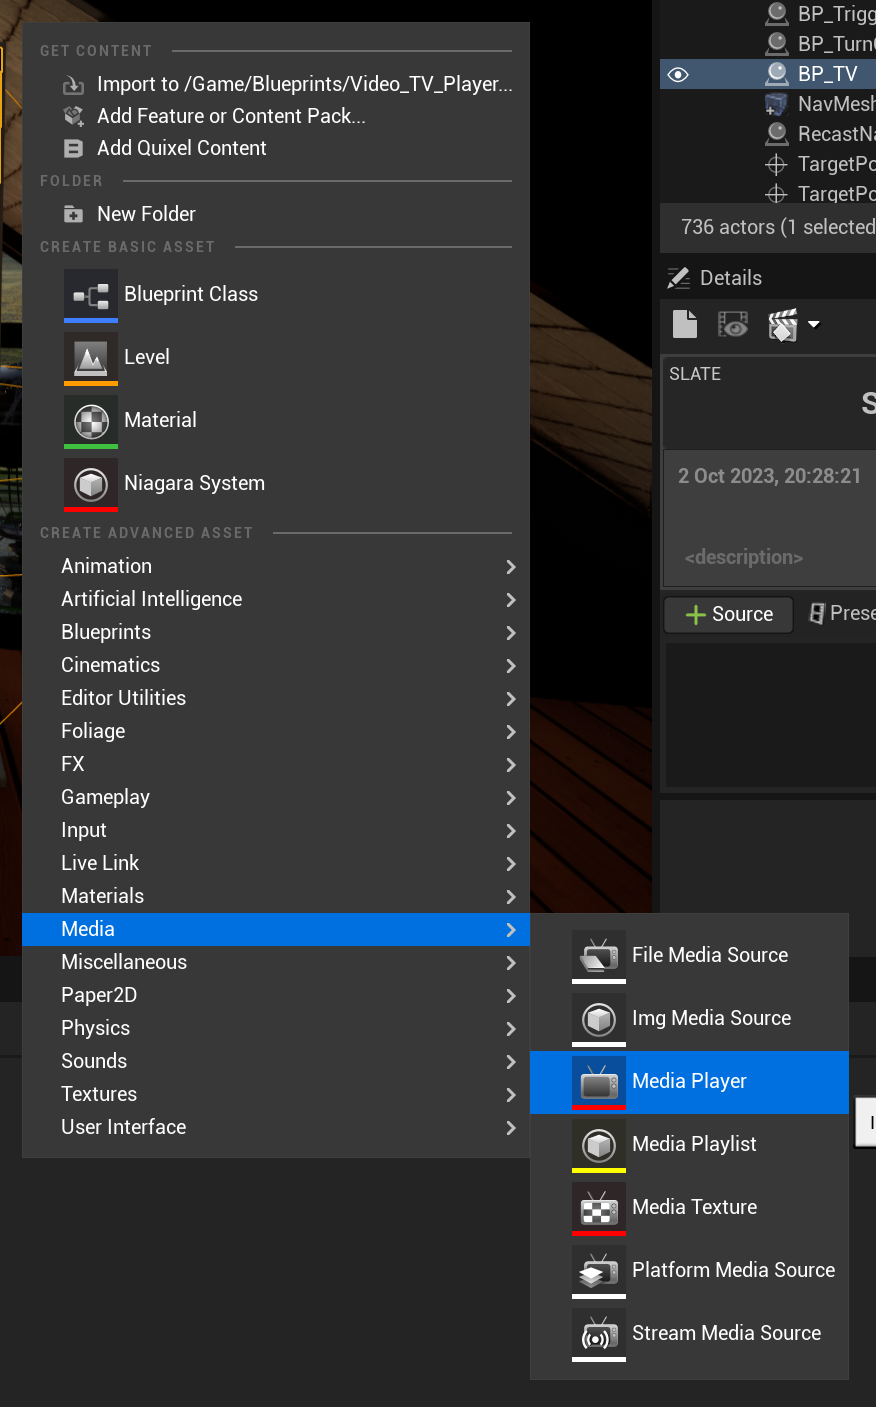
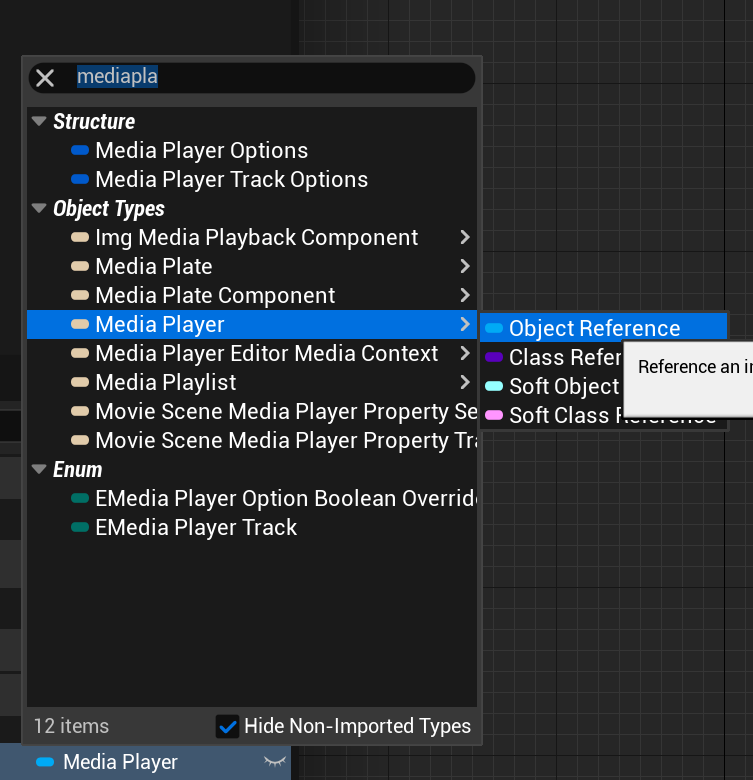
- Create a variable and name it media player.
- In its type > search for ‘Media Player’ and it should be the object reference type.
- Drag in the node and connect to ‘Target’ of Open Source.
- Press compile and make sure that the required media player is selected in the media player node details panel (this will appear when node selected).
- Drag off from Media player and add a ‘Get Duration.’

FINISHING OFF:
- Add a Delay at about 0.2 – NOTE: The blueprint will not work if this isn’t added as no video will be playing when it goes to Set Duration.
- Add another Variable and search for ‘Timespan’ and call it ‘MediaDuration’
- Drag this new node into the graph and select Set Media Duration
- Hover over the Media Duration right-side socket and right click > Select Split Struck Pin
- Then Drag off from ‘Seconds’ and connect with another Delay (as shown below).
- The rest of the blueprint removes the widget when it’s finished playing and enables the input again.

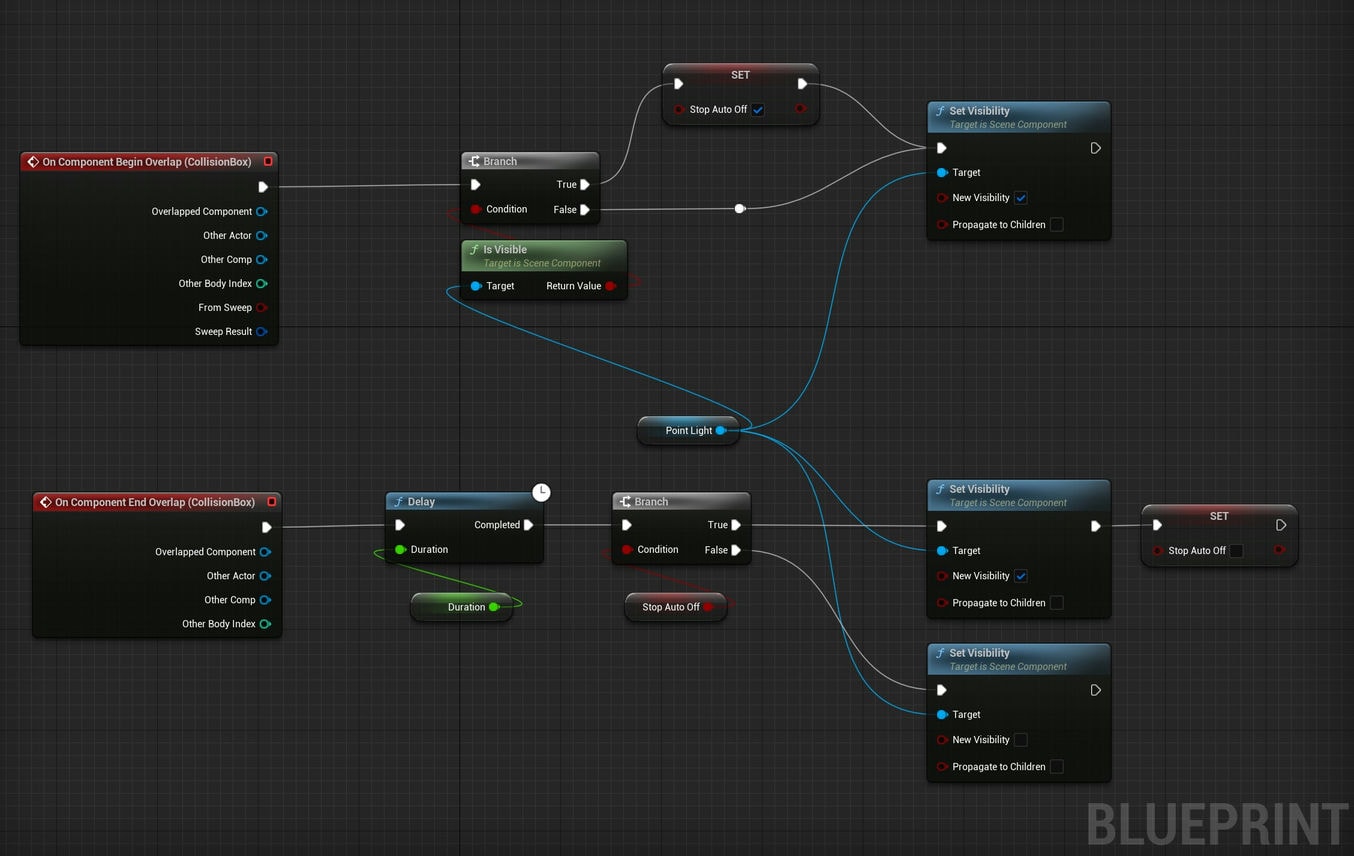
Please see the finished graph below in full
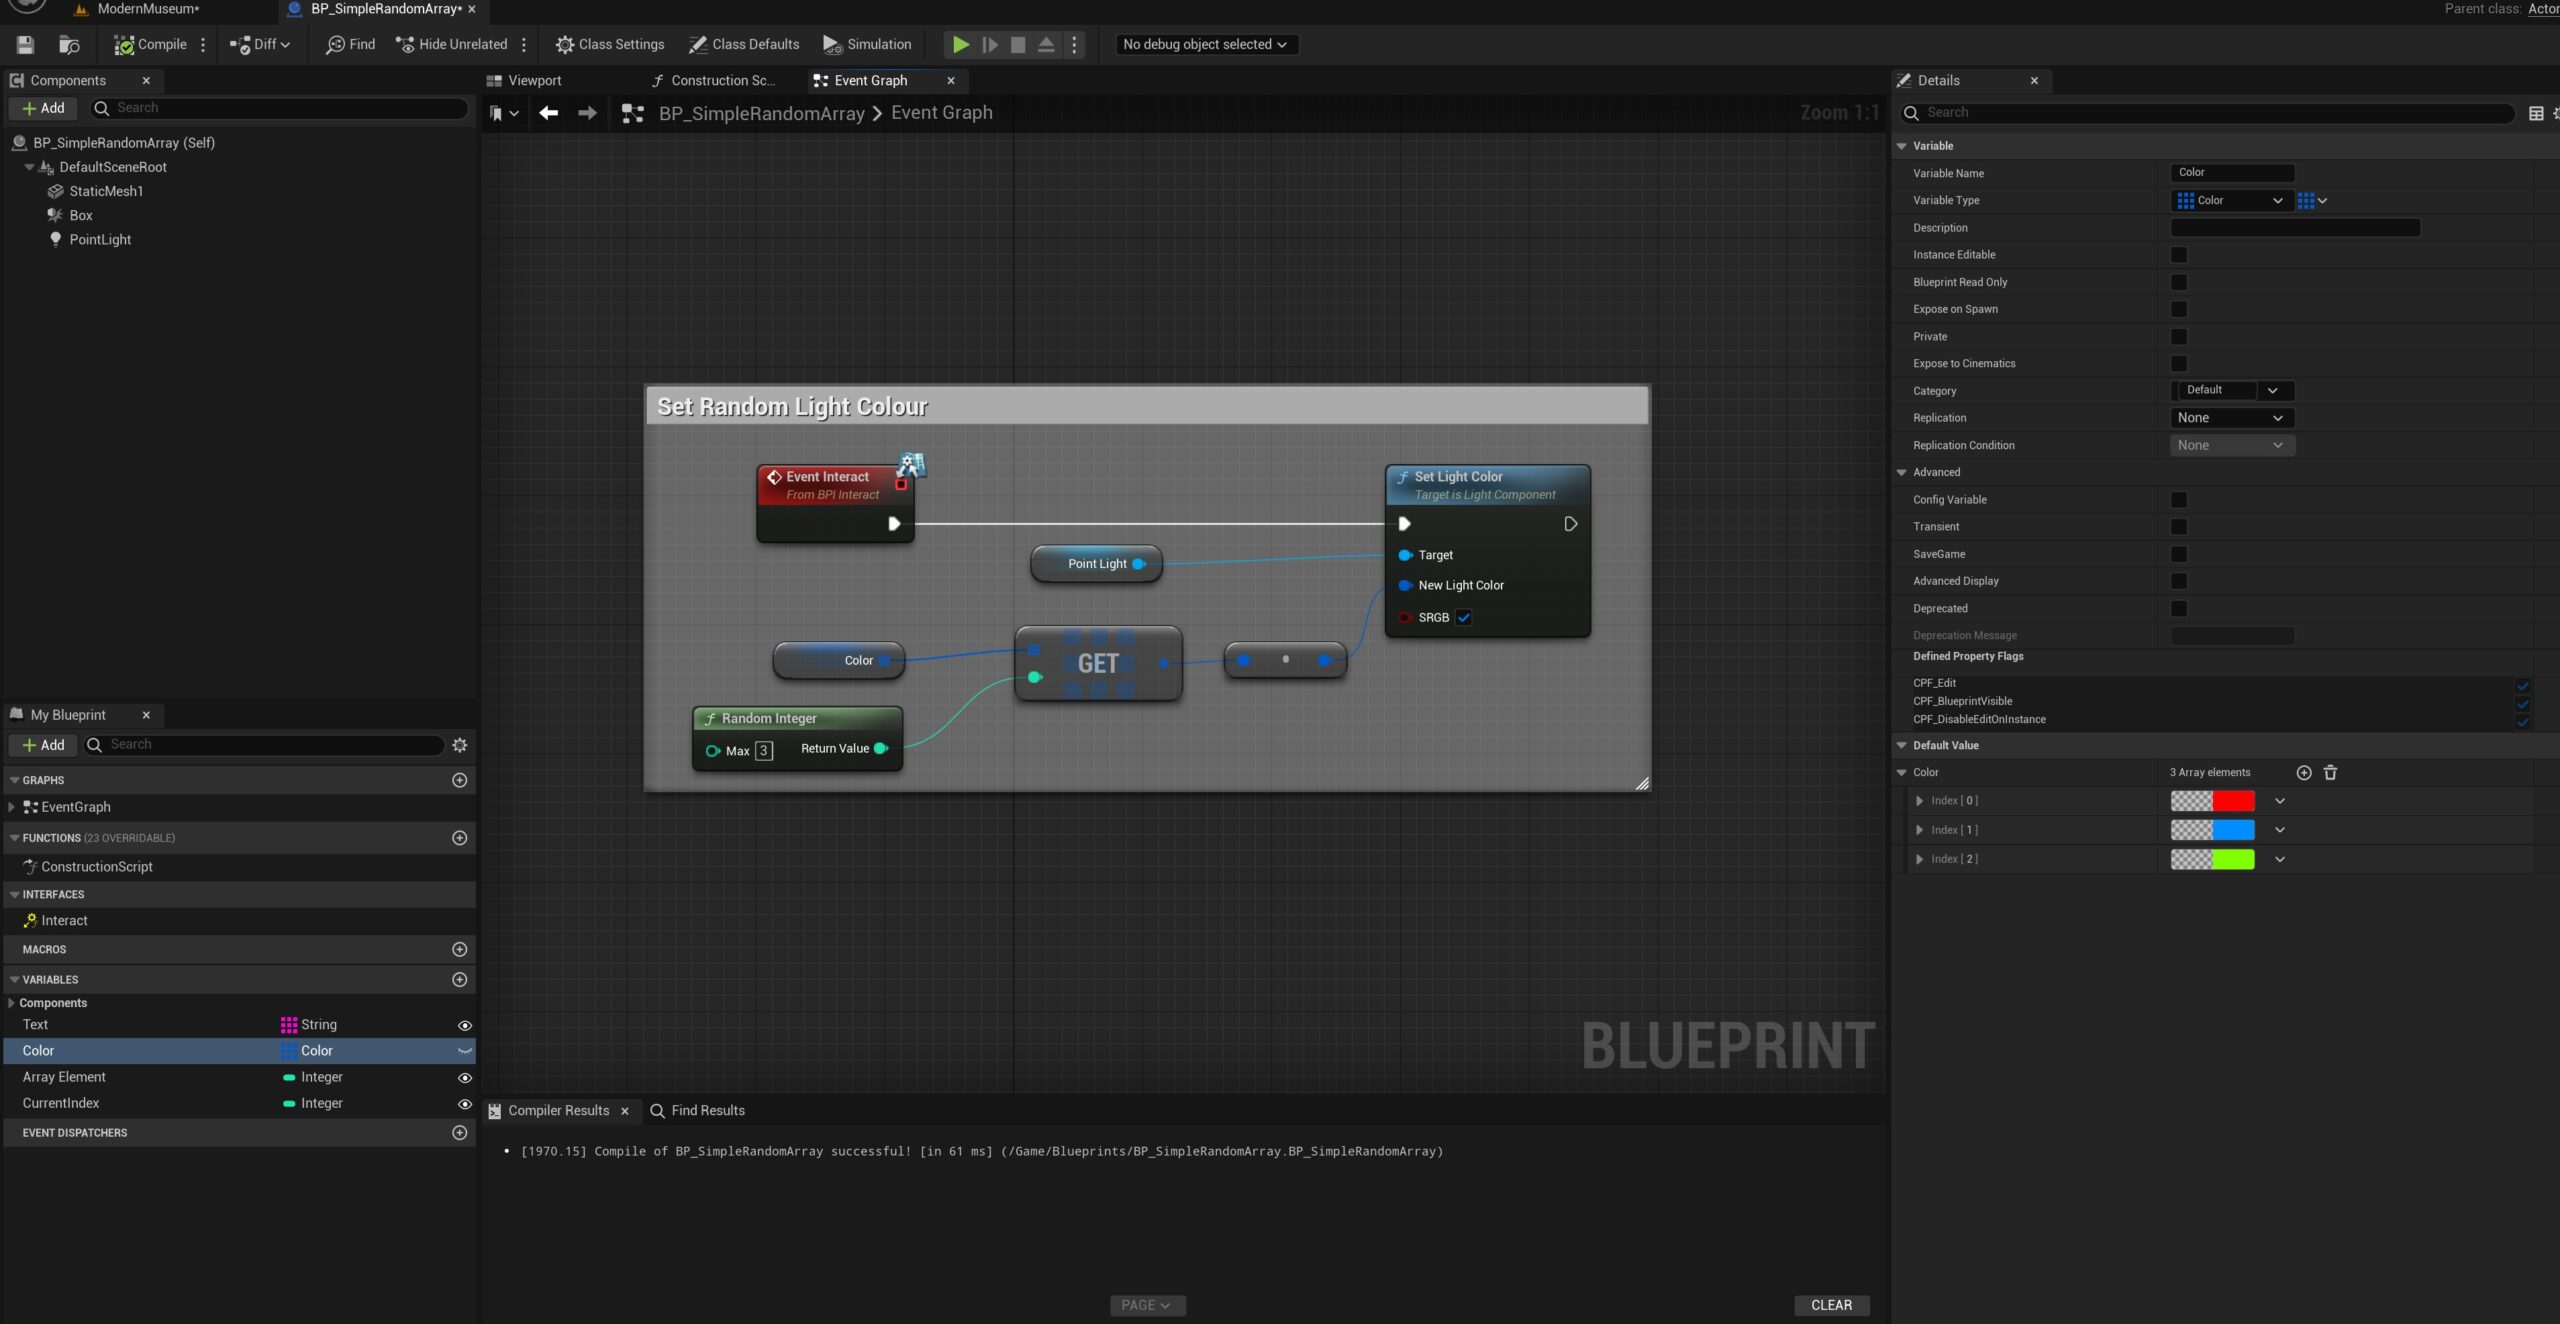
- AS NOTED ABOVE: I’ve used an interface (that I named Interact (The red node below)) to connect the E key directly from the 3rd person character. Hence, I haven’t added an E or P key directly. To add a key directly in the blueprint please see the instructions here.

For further tutorials on blueprints please see the page here: Blueprint Tutorials or to get started with blueprints please see here: Get Started with Blueprint
Related Video Blueprint Tutorials
This overview tutorial is part of a specific set of tutorials that relate to the upload and playing of video in Unreal Engine. Please see below the related posts in this series.
-
-
-
How to Automatically Remove Video when it finishes playing.
-
The post Unreal Engine Blueprint – How to Automatically Remove Video when it finishes playing appeared first on Motion Forge Pictures.


